
💺 How to link a seating chart to your event
Once you have created your seating chart, you'll need to link it to an event before you can start selling reserved seating tickets.
How to
Step 1
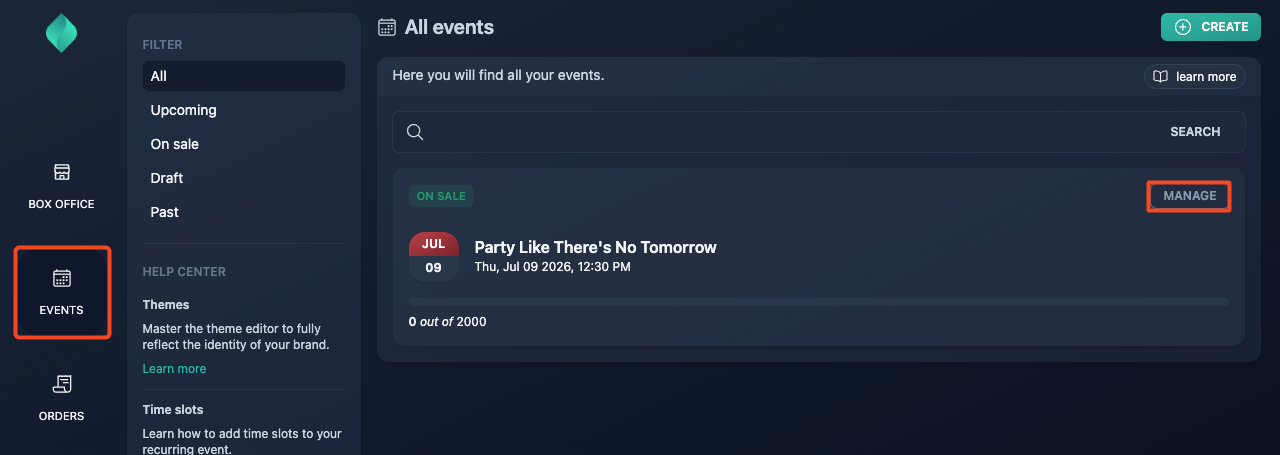
Go to your event management page.
Step 2
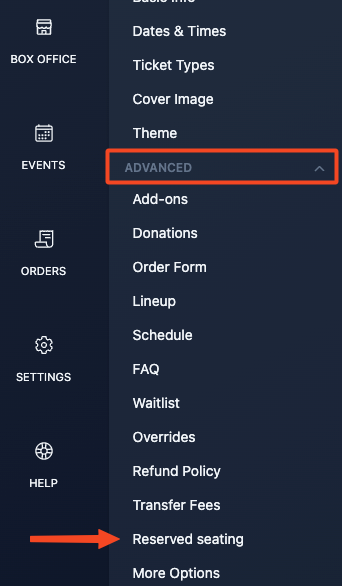
Expand the "Advanced" menu, then select "Reserved seating".
Step 3
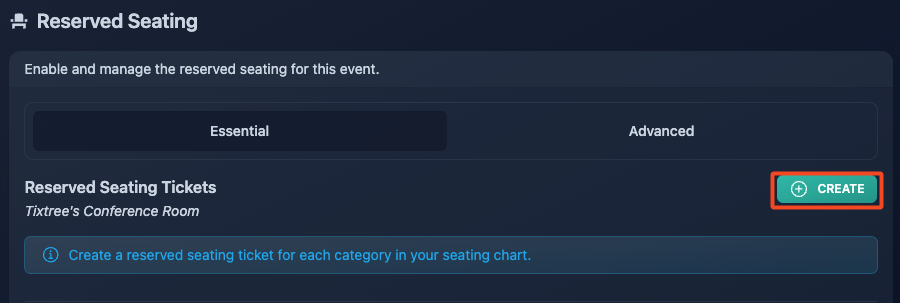
Select the seating chart you'd like to link.

Step 4
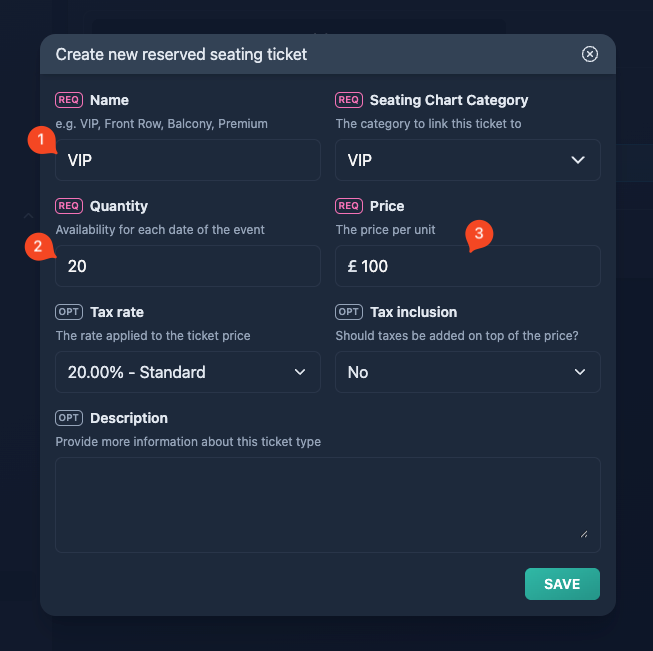
Create your reserved seating tickets. You'll need to create at least one for each category in your seating chart.

Step 5
Once you've assigned all seating chart categories to at least one reserved seating ticket, the chart will automatically appear on your event page.
Notes
1) The name of your reserved seating ticket is the name that will be printed on the issued ticket (alongside the seat label), the seating chart category won't.
2) If you designed 100 VIP seats, but you set 20 as quantity, you buyers will see the available seats but the will be be unable to purchase more than 20 which acts as max quantity for a specific reserved seating ticket.
3) Reserved seating tickets are a paid feature, currently not available for free events/tickets.
Reserved seating tickets are different from regular ticket types. Learn more.