
💺 How to create a simple seating chart
Seating charts are essential when you want to give attendees control over where they sit and ensure every seat is accounted for. They're especially useful for events like concerts, theaters, cinemas, and conferences where seat location affects the experience or price. A well-designed seating chart prevents double bookings, helps you manage capacity accurately, and makes the booking process clear and seamless for your customers.
How to
Step 1
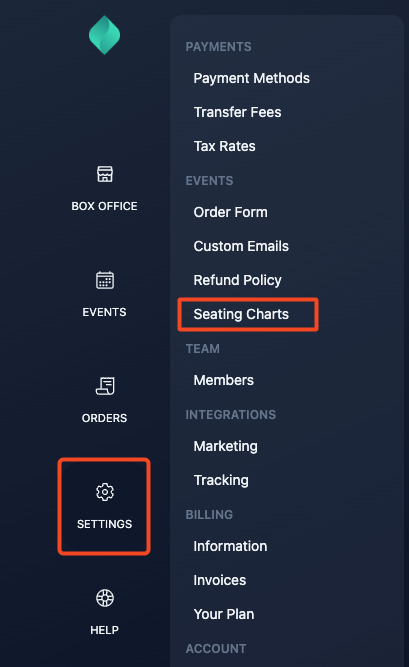
Go to Settings > Seating Charts
Step 2
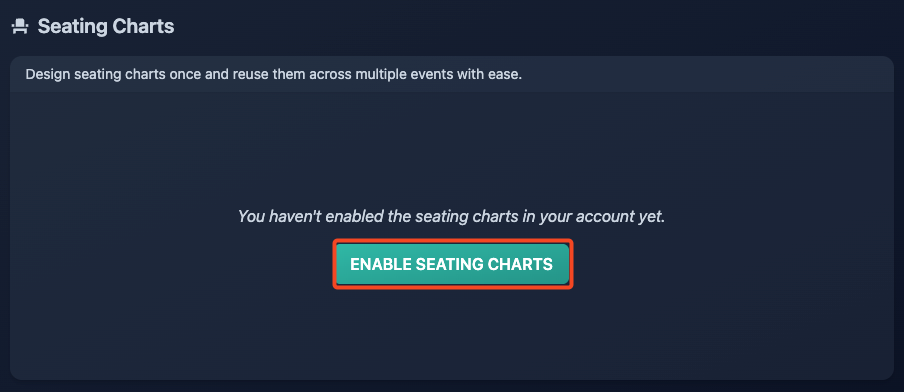
Enable the feature in your box office.
Step 3
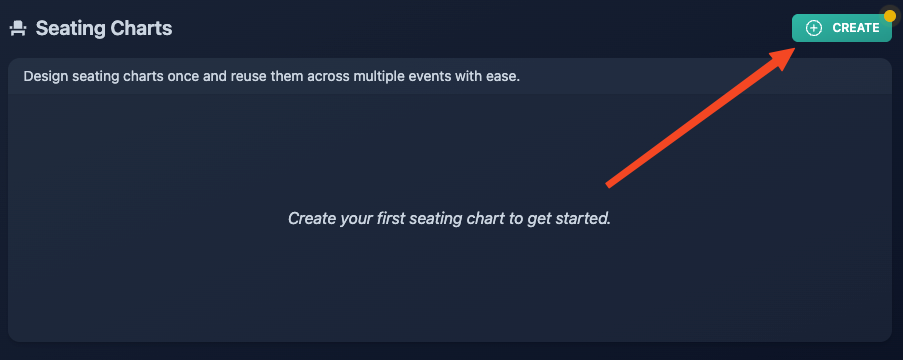
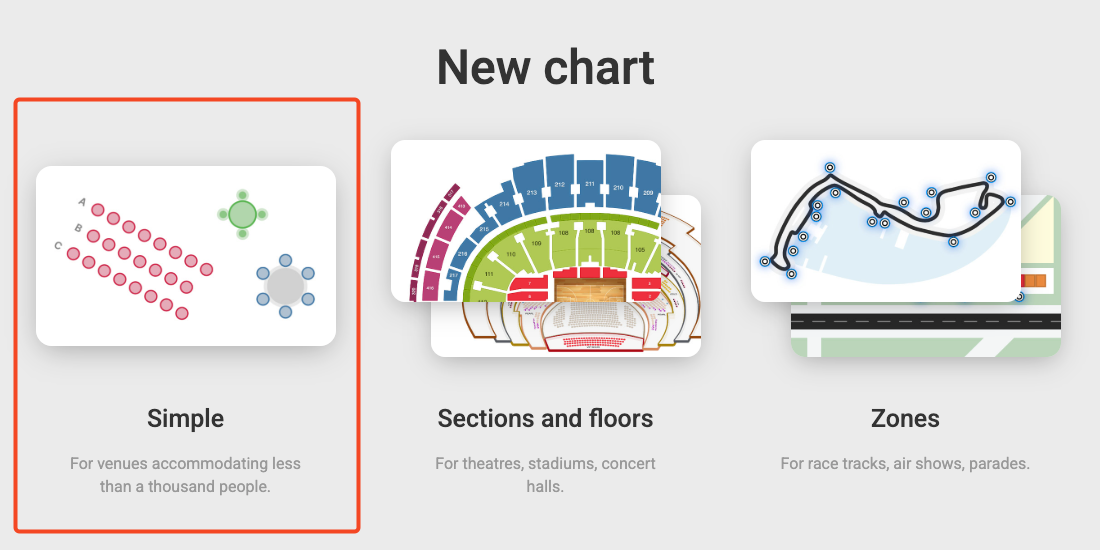
Create your first simple seating chart.
Step 4
If you have a visual layout of your venue, you can upload it and follow the guided setup steps.
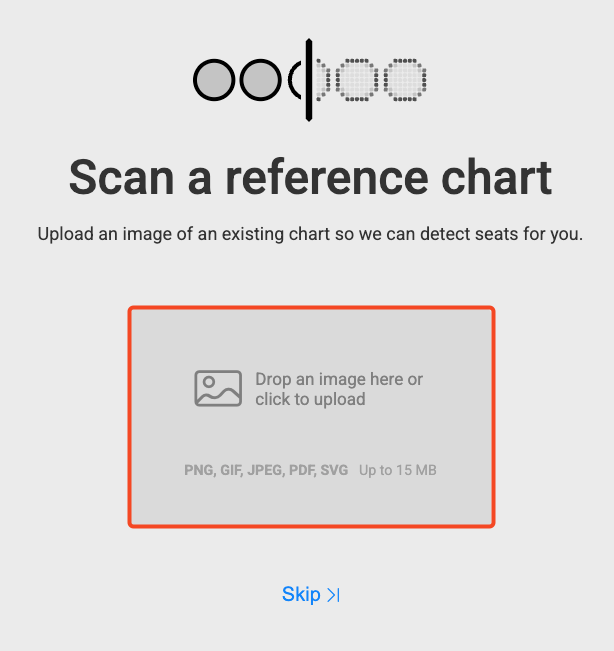
In this article, we’ll assume you don’t have one, so you can skip this step.
Step 5
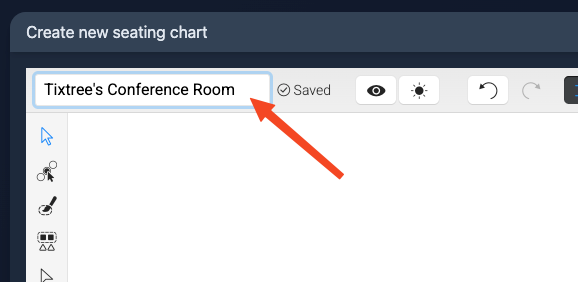
Give your seating chart a name so you can easily find it later, especially if you create multiple charts.
In most cases, it's best to name it after the venue it represents.
Step 6
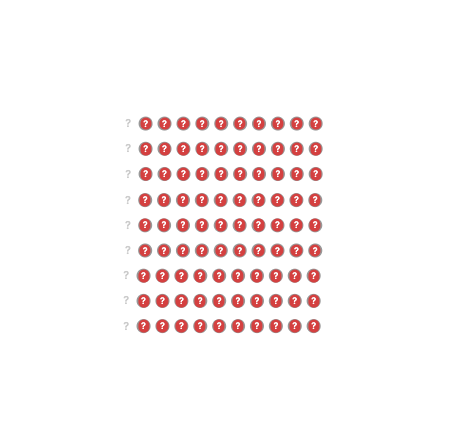
Let's start the fun part: drawing our first row of seats!
From the left toolbar, select the row tool.
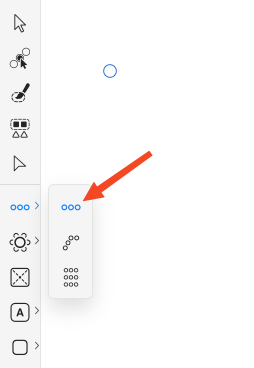
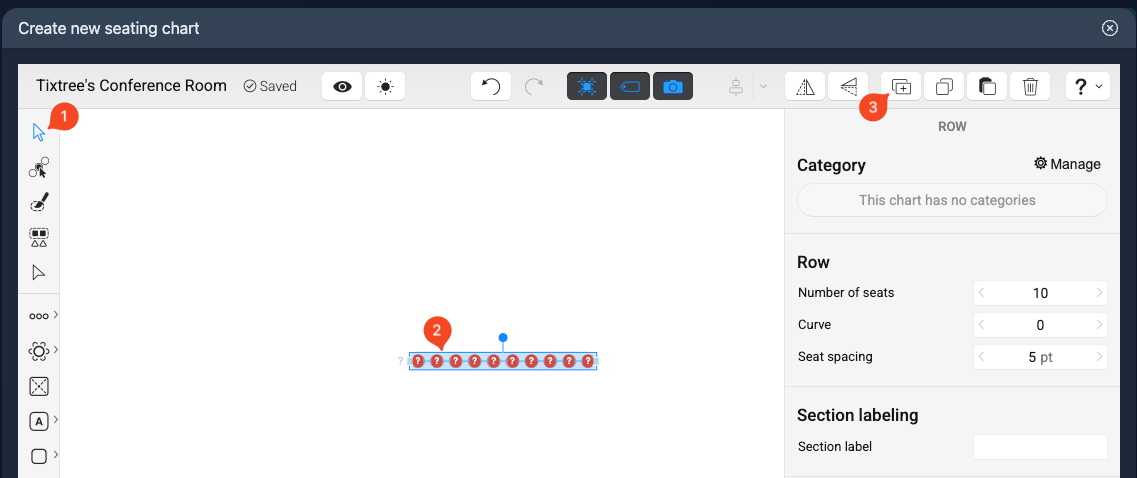
To create rows, click and drag your pointer across the white canvas.
From the right hand toolbar, you can adjust:
- the number of seats

- the curve of the row

- the distance between seat

The same actions are available for multiple rows.
Step 7
Repeat the action to add as many rows as you need.
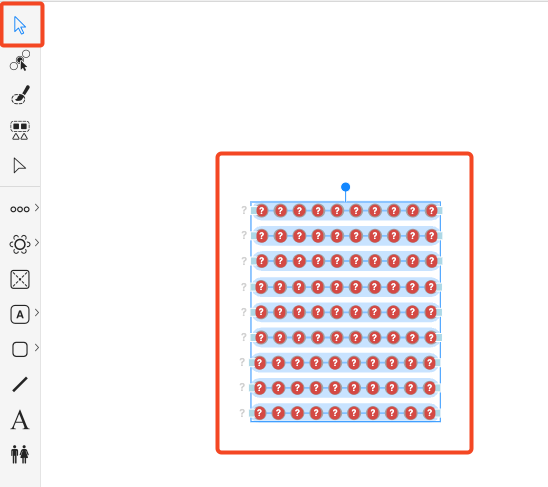
To create multiple, parallel rows, you can simply:
1) Pick the select tool
2) Click the row you'd like to duplicate
3) Click the duplicate button
You can also duplicate multiple rows at once. Use the select tool to highlight them as a group, then click the Duplicate button.
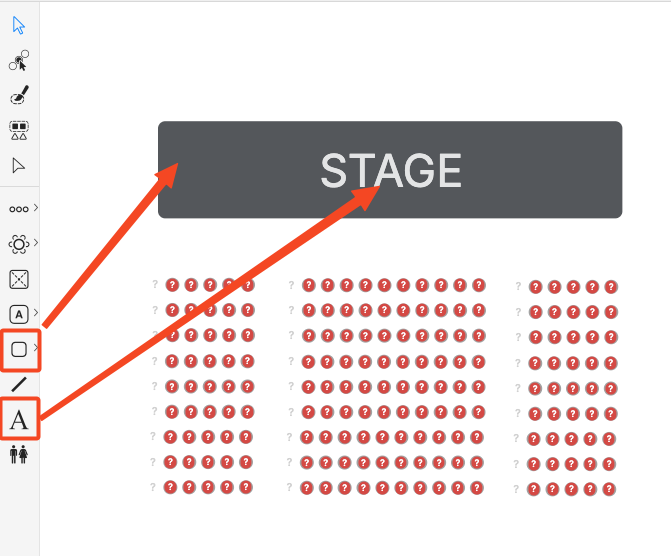
You'll likely want to design more than just the seats; use the shape and text tools to add elements like stage areas, entrances, bar, toilets etc.
Step 7
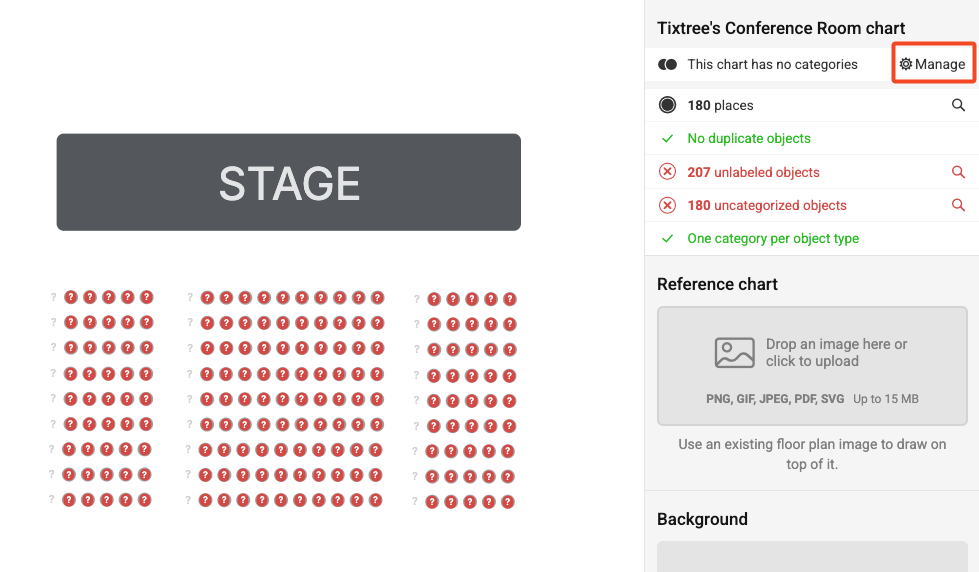
Once you've finished drawing your seats, the next step is to create categories.
Categories define the different types of seats within your venue; for example, VIP, General Admission, or Balcony. Each category can have its own color, label, and price, making it easy for attendees to recognize different sections when choosing their seats.
For simplicity, we’ll create just two categories in this example, but you can add as many as you need.
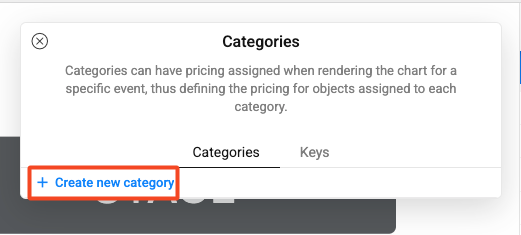
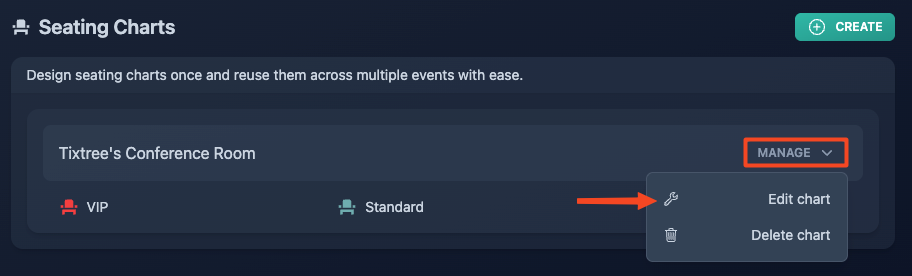
To create a category, click "manage" from the right hand sidebar.
Then click "create new category".
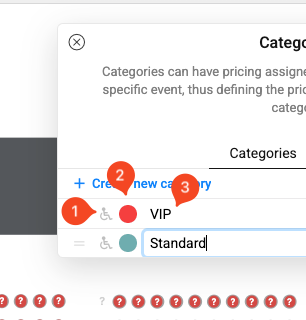
For each category you can:
1) Mark it as accessible
2) Choose a color
3) Choose a label
Step 8
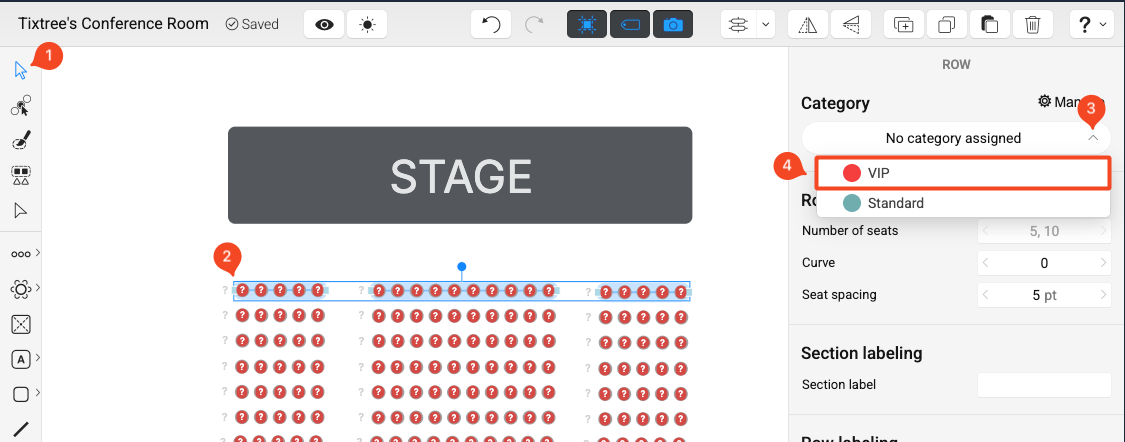
Once you've created all the necessary categories, the next step is to assign them to your seats.
In this example, the first row will be assigned to the VIP category, while the remaining seats will belong to the Standard category.
To assign a category to a group of seats:
1) Use the select tool
2) Select the row of interest
3) Expand the categories dropdown
4) Select the desired category
Step 9
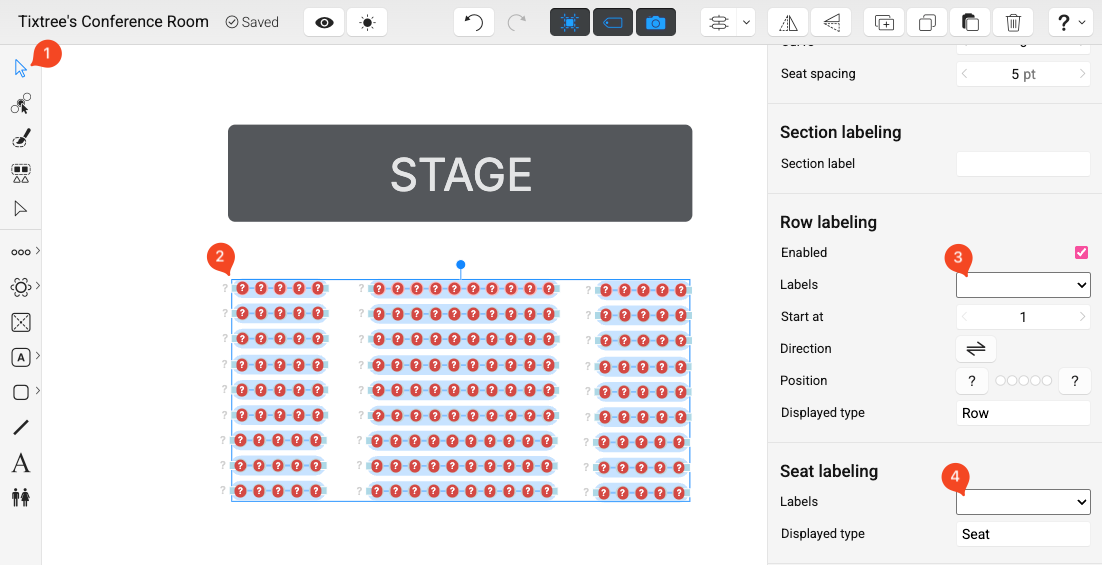
At this stage, you'll notice a red message in the inspector.
Please note that the inspector is only visible when no seats are selected, or when clicking the white canvas.
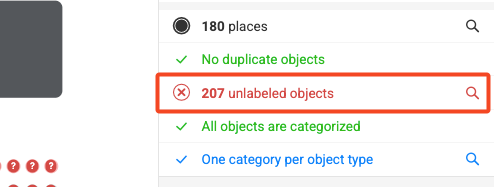
The message is prompting you to add labels to your seats so they can be easily identified by both attendees and your staff.
Both rows and individual seats require labels. Don't worry: you won't need to click hundreds of times.
1) Use the select tool
2) Select a group of seats
3) Choose the row labels format
4) Choose the seat labels format
Step 10
You've now completed the seating chart design. The inspector says it's all good, and you can close the designer modal.
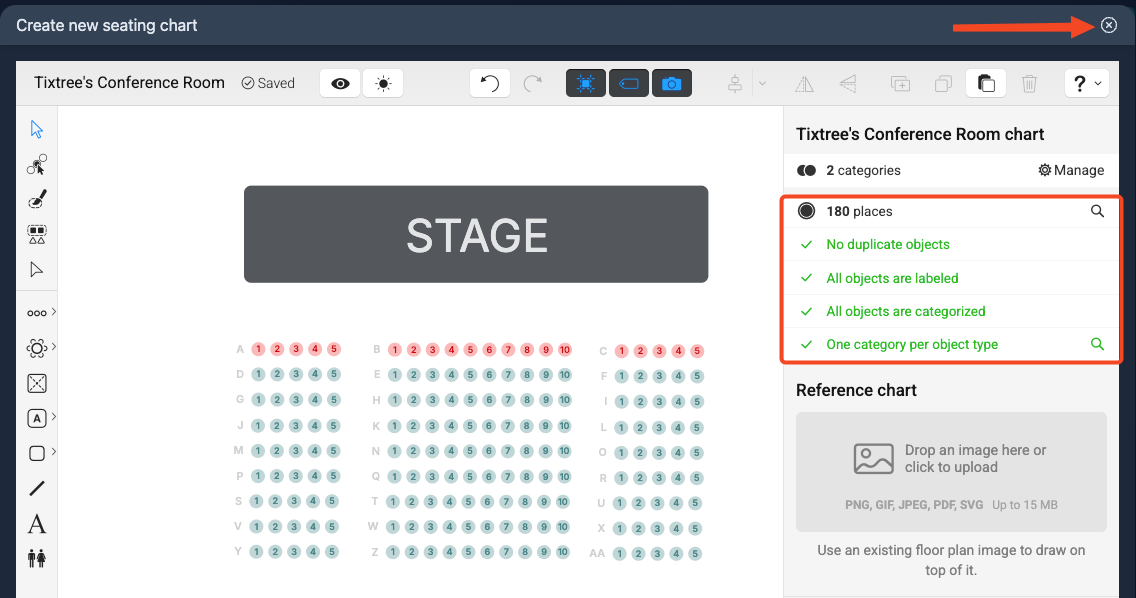
You can edit your chart at any time if needed.
Step 11
It's time to link the seating chart with one of your events.