🗓️ How to add a schedule to your event
Add detailed schedules to your event page to clearly outline what's taking place, when, and where. Whether your event spans a single day or stretches across multiple dates, schedules help you break down the experience into organized time slots. It's a simple and effective way to keep your attendees informed and engaged every step of the way.
How to
Step 1
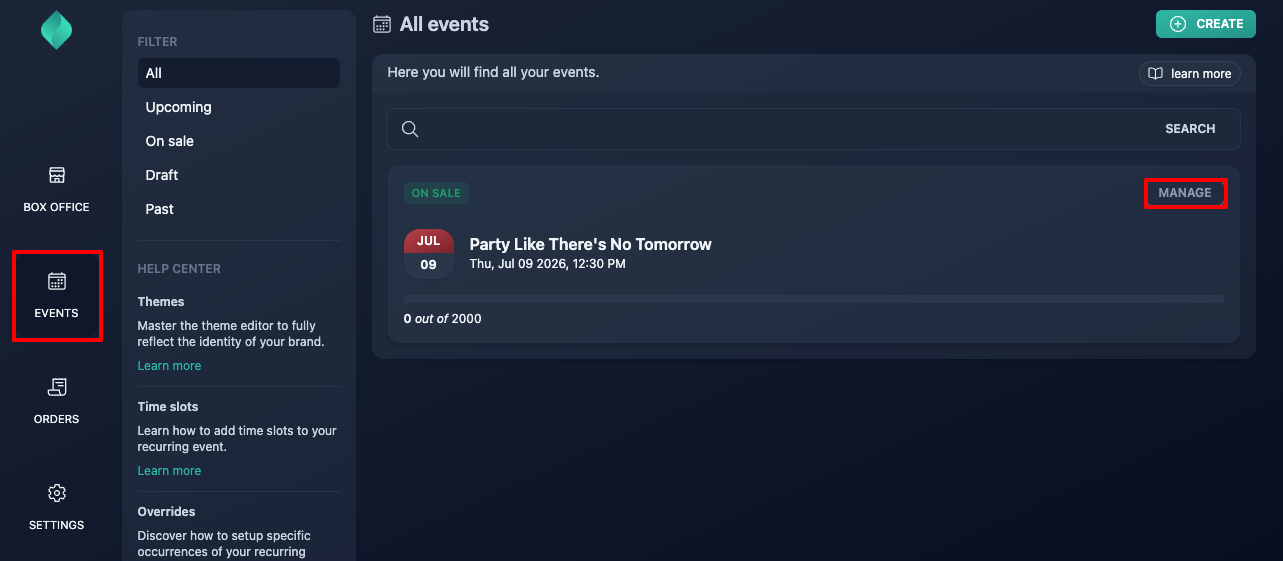
Go to your event overview.
Step 2
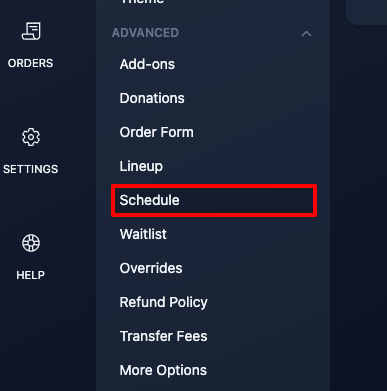
Expand the "advanced" menu, then click "schedule".
Step 3
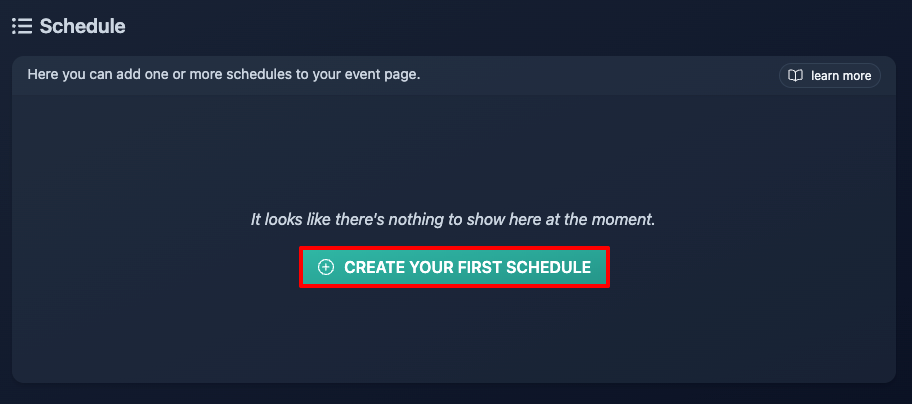
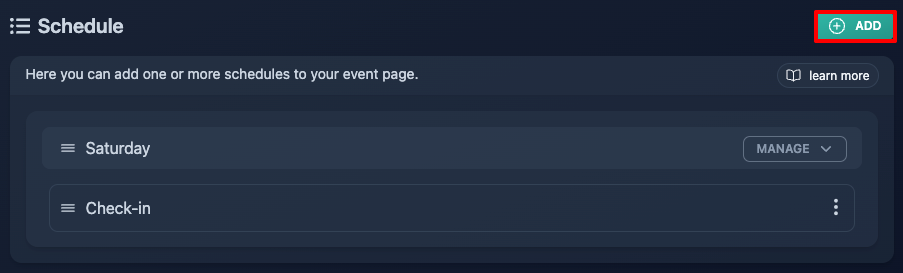
Click "create your first schedule".
Step 4
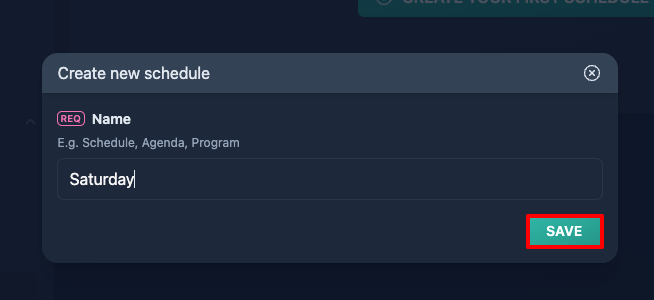
Choose a name for your schedule. While "Schedule" works perfectly fine, you can pick a name that makes the most sense for your audience, such as "Agenda", "Program" etc.
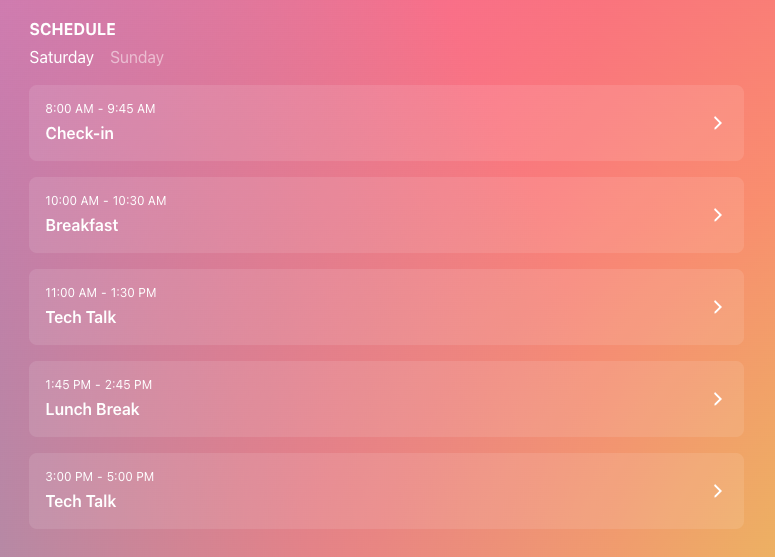
In this guide, we'll be setting up a schedule for a two-day tech conference, so we'll simply call them "Saturday", and "Sunday".
Step 5
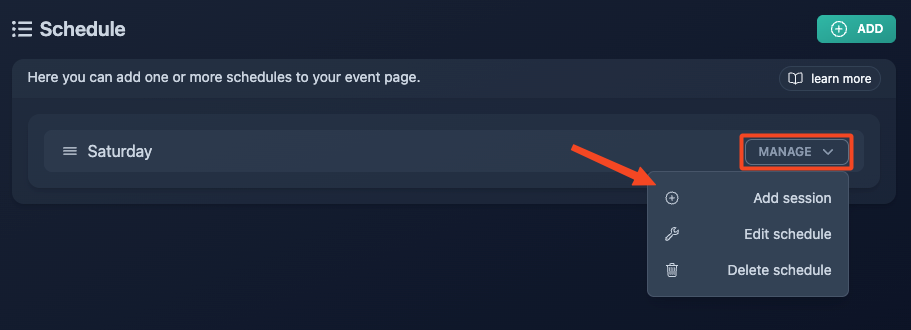
Add your first session.
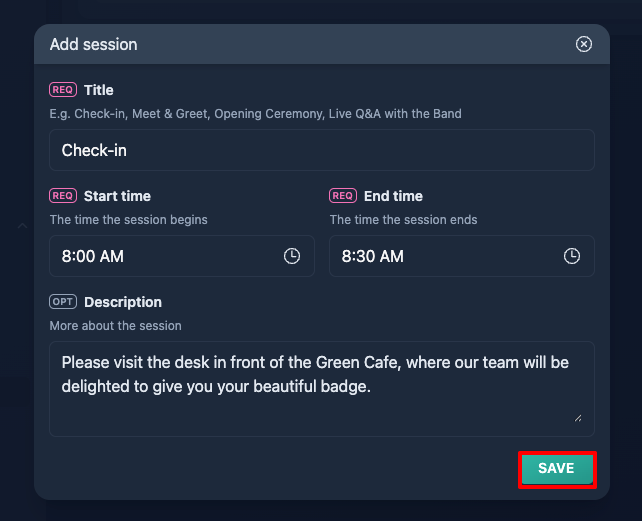
Title
Keep it simple: just a few words to describe the session.
Start & End time
The time slot during which the session takes place.
Description
Share any extra details attendees might find useful.
Step 6
Repeat this process for all your sessions, then move on to your next schedule and keep building from there.
Step 7 (optional)
Use the three dots menu if you need to edit or remove a session at some point.
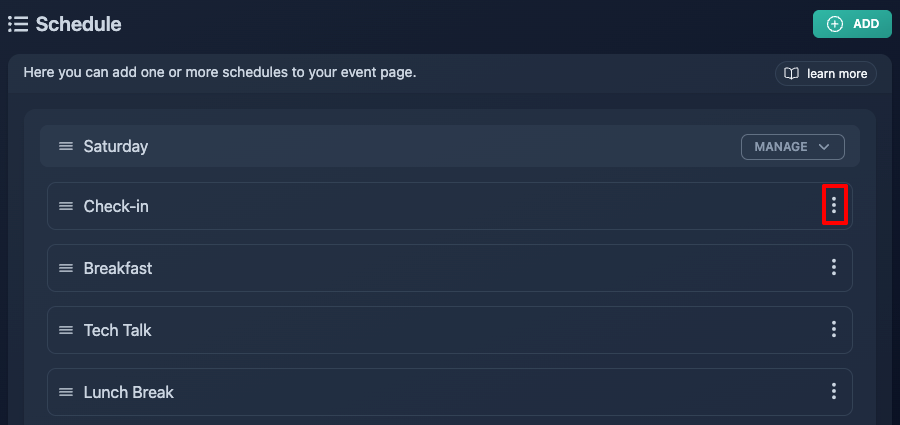
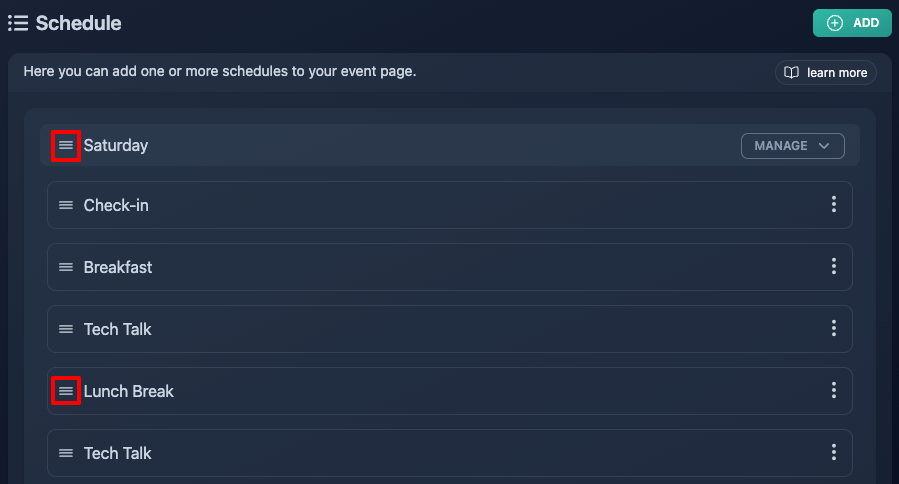
You can also rearrange the order of your schedules or sessions at any time: just drag and drop them using the three-line icon.